
This is a journey into vinyl sound… Record care and tips from Henley Audio – Setting up your turntable
In the third of our monthly vinyl and audio column from the peeps at Henley Audio we look at how to get your deck feeling right at home
The Boxer: With a correctly packed turntable, the first job is to remove the various securing methods. Likely tasks include removing cable ties from the arm and removing any “transit screws” secured to avoid damage during shipping. (Remember to keep all the packaging for future use.)
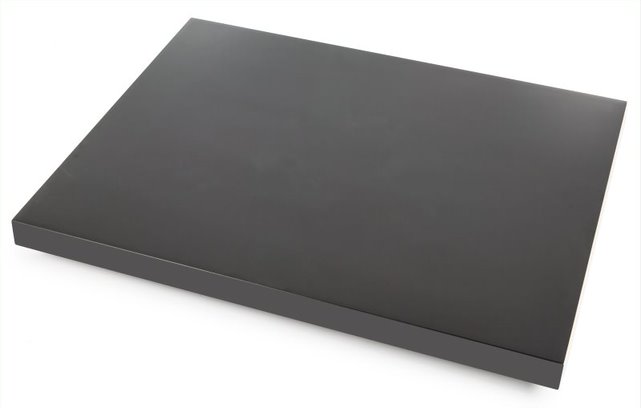
On the Level: Turntables sound best when placed on a solid and level support. Your table or bookshelf will do, but dedicated supports will do better. Grab a spirit level – if you don’t own one, buy one; it’ll bring balance to your life – and get to work. And we’re not talking folded beer mats here; adjustable platforms will get you where you need to be. This OR this.
(We Don’t Need This) Fascist Groove Thang: Most turntables come with a pre-installed cartridge, but there’s never any harm in checking someone’s work. A protractor helps you get the alignment just right, avoiding any pesky ‘inner-groove distortion’.

Nah Wobble: take a step back and give your balanced set-up the once-over. Beware anything that could upset stability – wobbly floorboards, sofa arms bumping into the side of the set-up, that sort of international disaster.
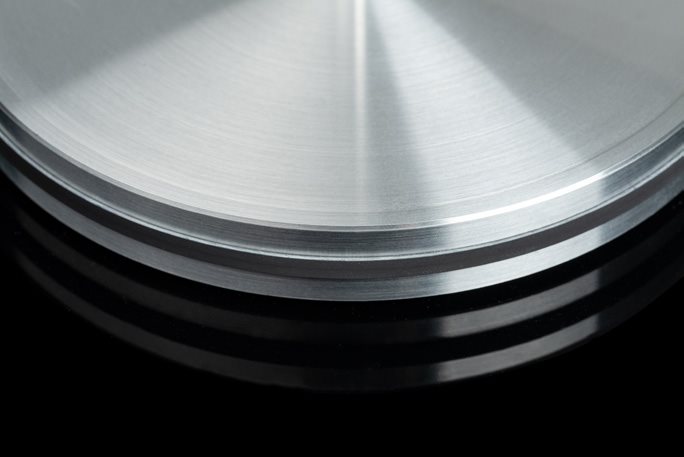
Central Belters: If your deck is a direct drive model, look away now, you have no place being here. Belt drive model owners, though, now need to place the drive belt – think, a giant elastic band – around the small rung of the pulley and the circumference of the sub-platter (the little round thing underneath the record-sized round thing).
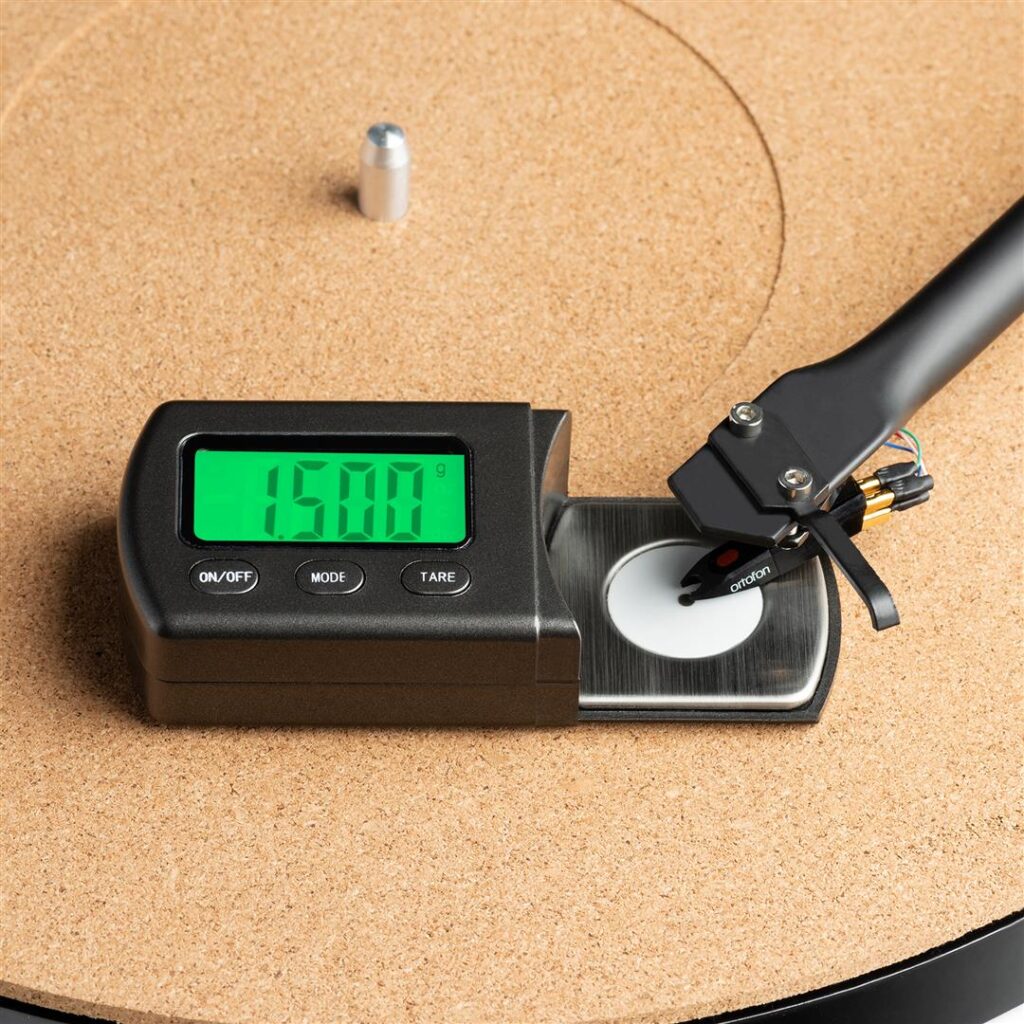
Tom Weights: Time to balance the arm. Different decks, different rules, but most go something like this: remove the stylus protector; place the counterweight on the back of the arm; remove the component from its rest; adjust the counterweight forwards and backwards until the arm is completely balanced.
Get Back: return the arm to its rest and rotate the front-only section of the counterweight to ‘zero.’ Check the cart’s spec for the right weight, quoted in grams, then apply the correct downforce for the cartridge by twisting the entire weight – this will move the counterweight forward on its rod, just enough to make the cartridge sing sweetly without risk to it or your records. This OR this.
Skateaway: Your deck may come with a dinky anti-skate weight. Can’t find it? You either accidentally binned it, or your deck may have an internal anti-skate system. Anti-skate systems are good things – they prevent your stylus from leaping and skating towards the centre of the record and prolong the life of your cartridge. Need a replacement? Here you go.
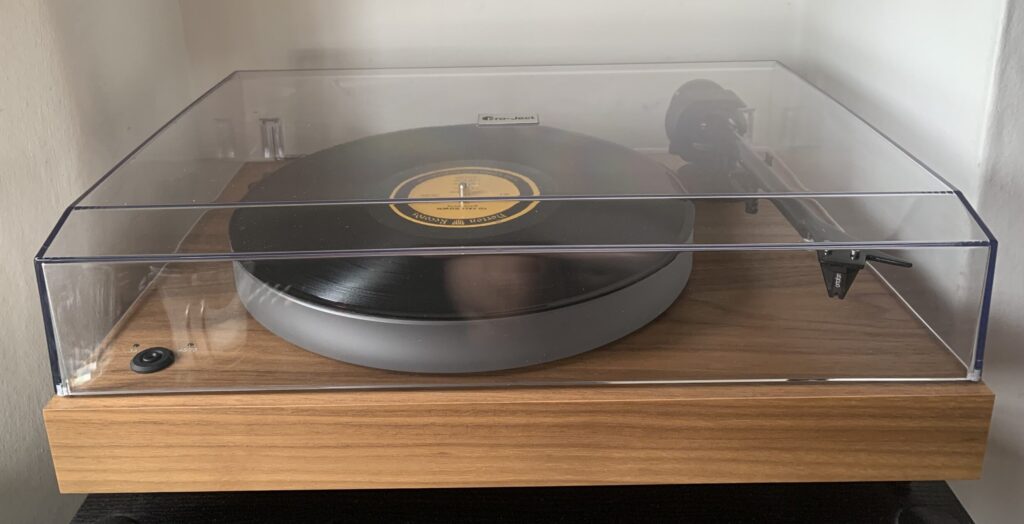
Cover Me: If your turntable comes with a dust cover – AKA ‘a lid’ – experiment with it closed, open, and completely removed. Ideally, leave it closed between plays. You may find that the dust cover is behind unwanted sound vibrations when spinning vinyl, so don’t be afraid to remove it when in use; most manufacturers make this possible.
Speed of Sound: If your You Want It Darker vinyl sounds more Geddy Lee than Leonard Cohen, check that your deck is set to the correct speed! With some turntable designs, you must manually change the belt to switch between 33RPM and 45RPM. Want to play 78RPMs? Not all decks can, but if yours can (most Pro-Ject Audio ones can), make sure you use the correct stylus! On that note, we shall exit stage left.
All of the gear mentioned is distributed by Henley Audio.
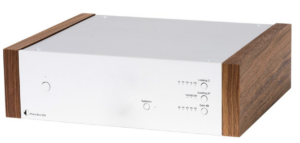
And don’t forget that Editor-In-Chief Jon’Mojo’ Mills swears by his Pro-Ject X2 deck and DS2 Phono Stage